


.png)
Animation in UI design can be tricky. Add too much and your designs can quickly become bloated and difficult to use. Add too little or none at all and the end result can feel rigid and lifeless.
On top of the challenge of finding the right animation balance, creating and implementing animations can sometimes be a long and painstaking process that can eat up a lot of your time.
Luckily with Lottie, there is now a way to easily test and implement your own animations much easier.
Lottie is a library that renders Adobe After Effects animations in real-time. In other words, it's a powerful tool you can use to easily add animation to iOS, Android, React Native, and Website projects (including Wordpress, Shopify, Webflow, Squarespace, Wix etc.) without the need for a developer.
No-Code people, I'm looking at you 👀
So, where do I start?
Well... since Lottie requires After Effects to render, you'll have to build your illustrations or designs directly in After Effects (don't X this article out yet).
Just kidding! I would never allow you to go through that type of pain and suffering.
Here are instructions on how to import files into After Effects from Illustrator, Sketch, or Figma.
Import from Illustrator and/or Sketch Instructions
Import from Figma Instructions
Once you have an illustration/design imported (or you somehow managed to make an illustration from within After Effects) you're ready to go!
Step 1 - Install the Bodymovin extension for After Effects
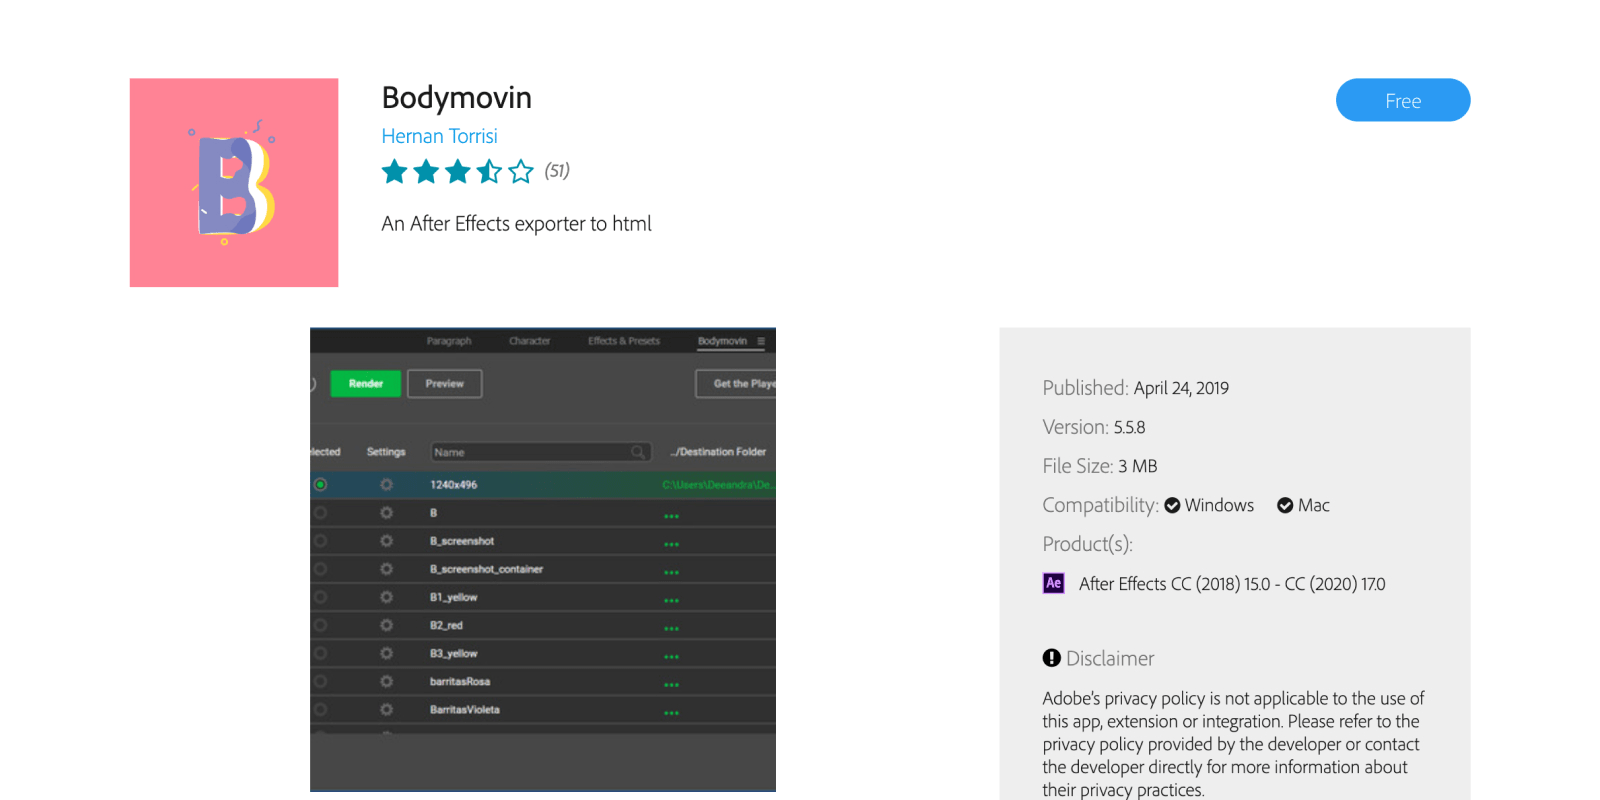
This free After Effects extension allows you to export your compositions as JSON files which you will need in order to implement them into a web or app-based project.
Install the Bodymovin extension
(Make sure you're signed in to the Adobe account associated with After Effects before installing.)
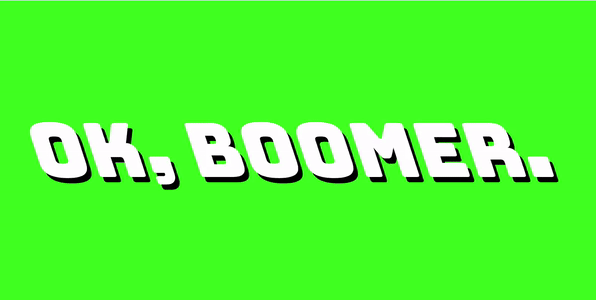
Step 2 - Animate.
You're somewhat on your own here. Animation has its own set of principles to follow and what you create and how you implement it is ultimately up to you. If you're looking for a guide on great UX animation principles, the article below, written by Taras Skytskyi, is a great place to start.
The Ultimate Guide to Proper Use of Animation in UX
If you have experience using Adobe After Effects, you're one step closer to making your idea a reality.
But, if you're like me and are new to After Effects—don't worry. It only took me about 15 minutes to whip up this example 😆
Step 3 - Render your animation into a JSON file
Once you are done animating your file, you'll need to export using that Bodymovin extension you installed earlier.
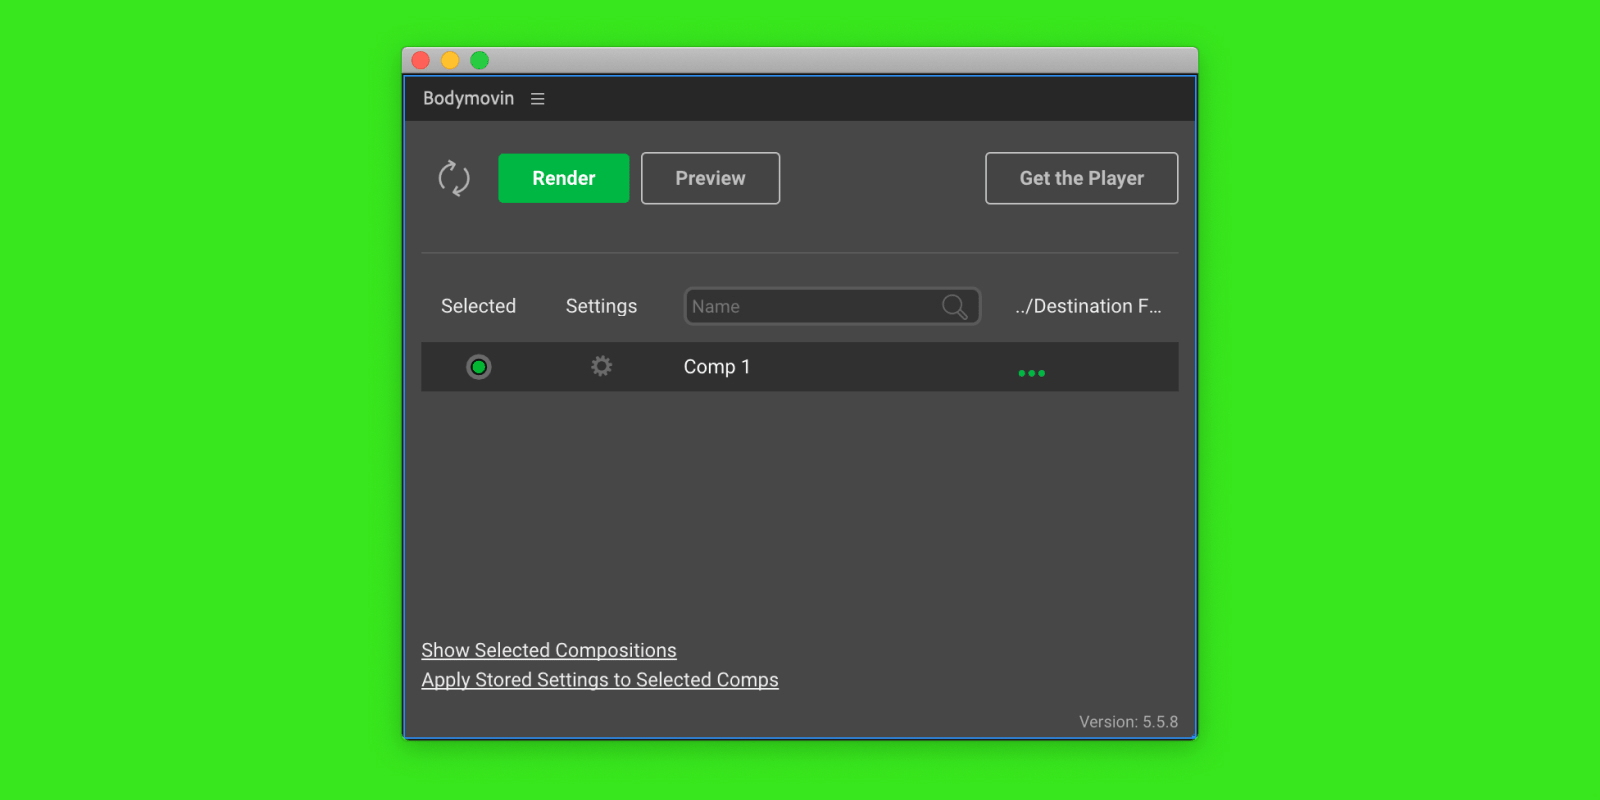
- From within After Effects go to Window > Extensions > Bodymovin
- Select a destination to save to by clicking the 3 little green dots
- Click Render and a JSON file will be exported to the destination you chose
Step 4 - Upload your exported JSON file to Lottie Files
Open the Lottie Files previewer in your browser and drag in the JSON file you exported.
Here you can preview your animation within Lottie, and if everything looks good, you can go ahead and publish it to Lottie Files.
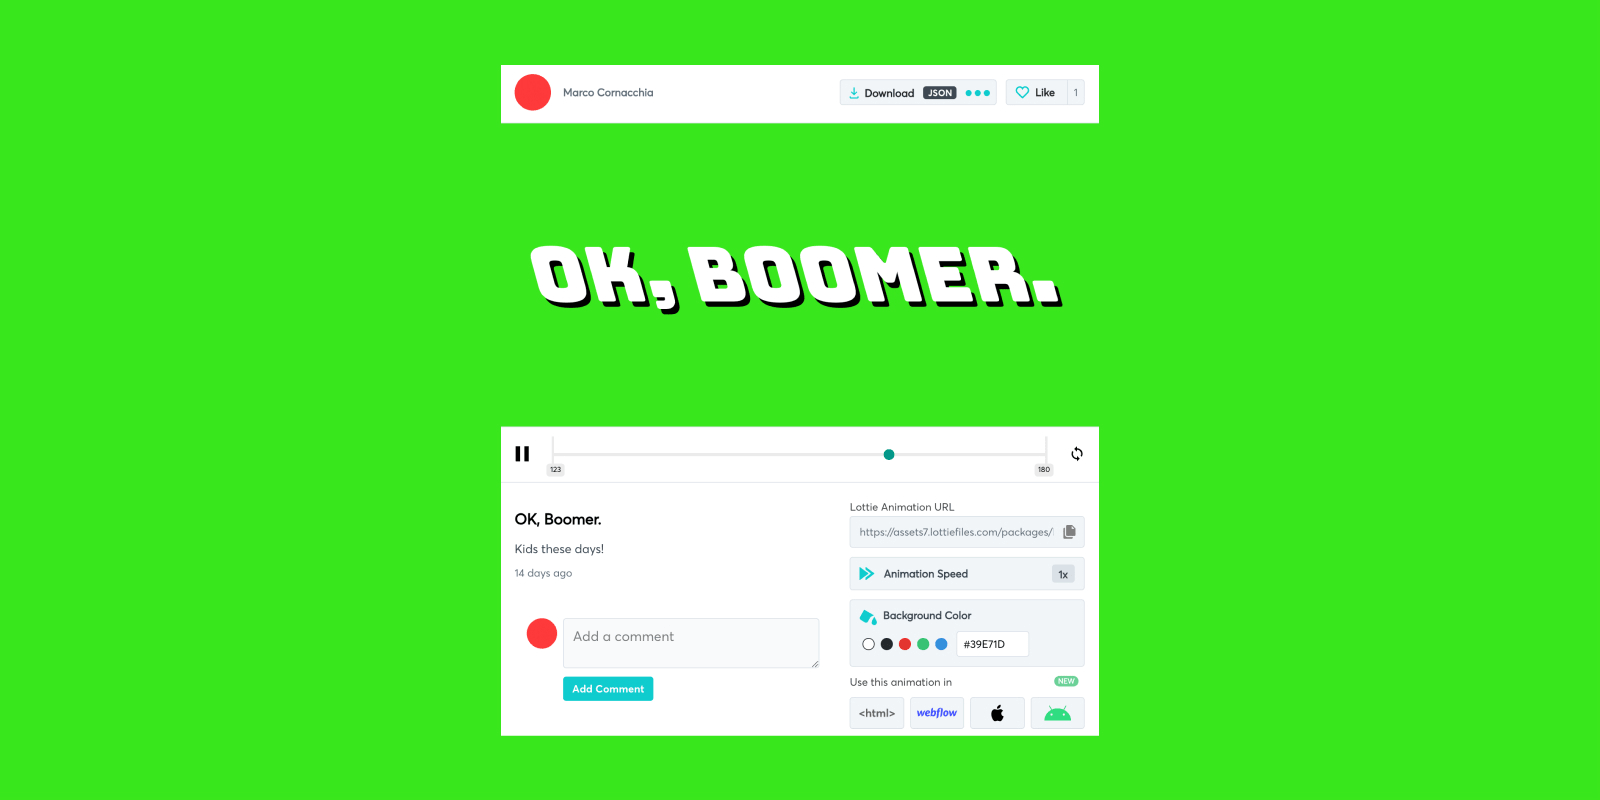
Step 5 - Implement your Animation
Now that your animation is published on Lottie Files, you can generate the code snippet needed for your project.
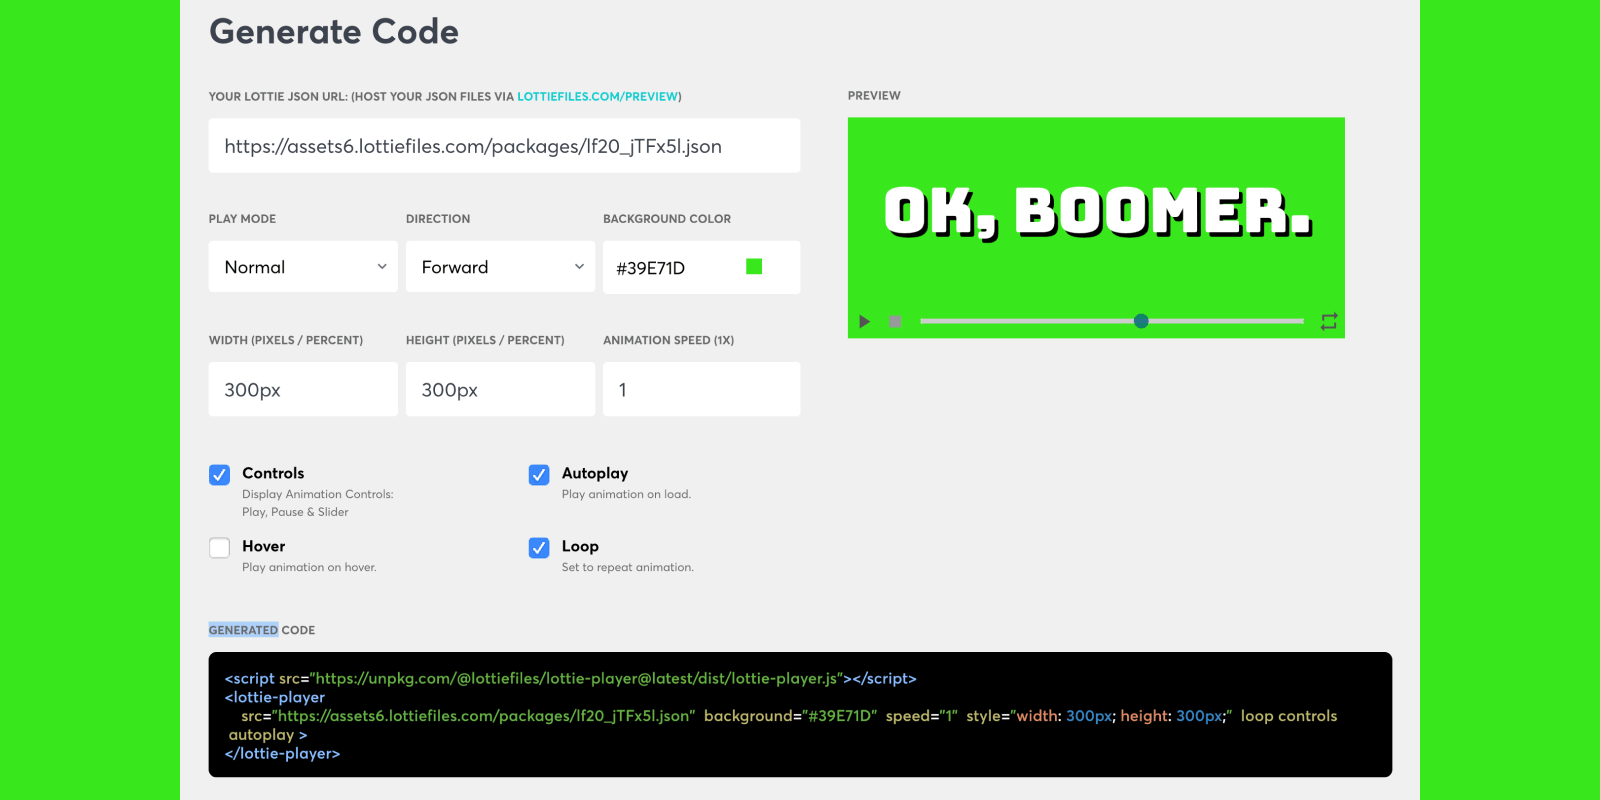
Remember: Lottie Files are compatible with Wordpress, Shopify, Webflow, Squarespace, Wix or any other Website, as well as iOS and Android apps!
Not ready to make your own Lottie Animation?
Lottie has a huge library of FREE animations that you can search through, download, and use in any of your projects!
